Week 1: Publish Your Design
The final chapter in our journey is perhaps the most exciting one—publishing your design. This is where you bring your project to the world. You'll learn how to deploy your static site for global access, and the best part? We'll explore cost-effective (even free) tools to make your website live.
In this chapter, you will learn
Publish your design
Congratulations, you have completed your first reproduction from the mockup. I believe you are very satisfied with your work, you really should. So let us share this joy with your friends!
How to publish your page on a public platform, so anyone anywhere in the world can access it? We can do this with tools like Netlify or Surge.
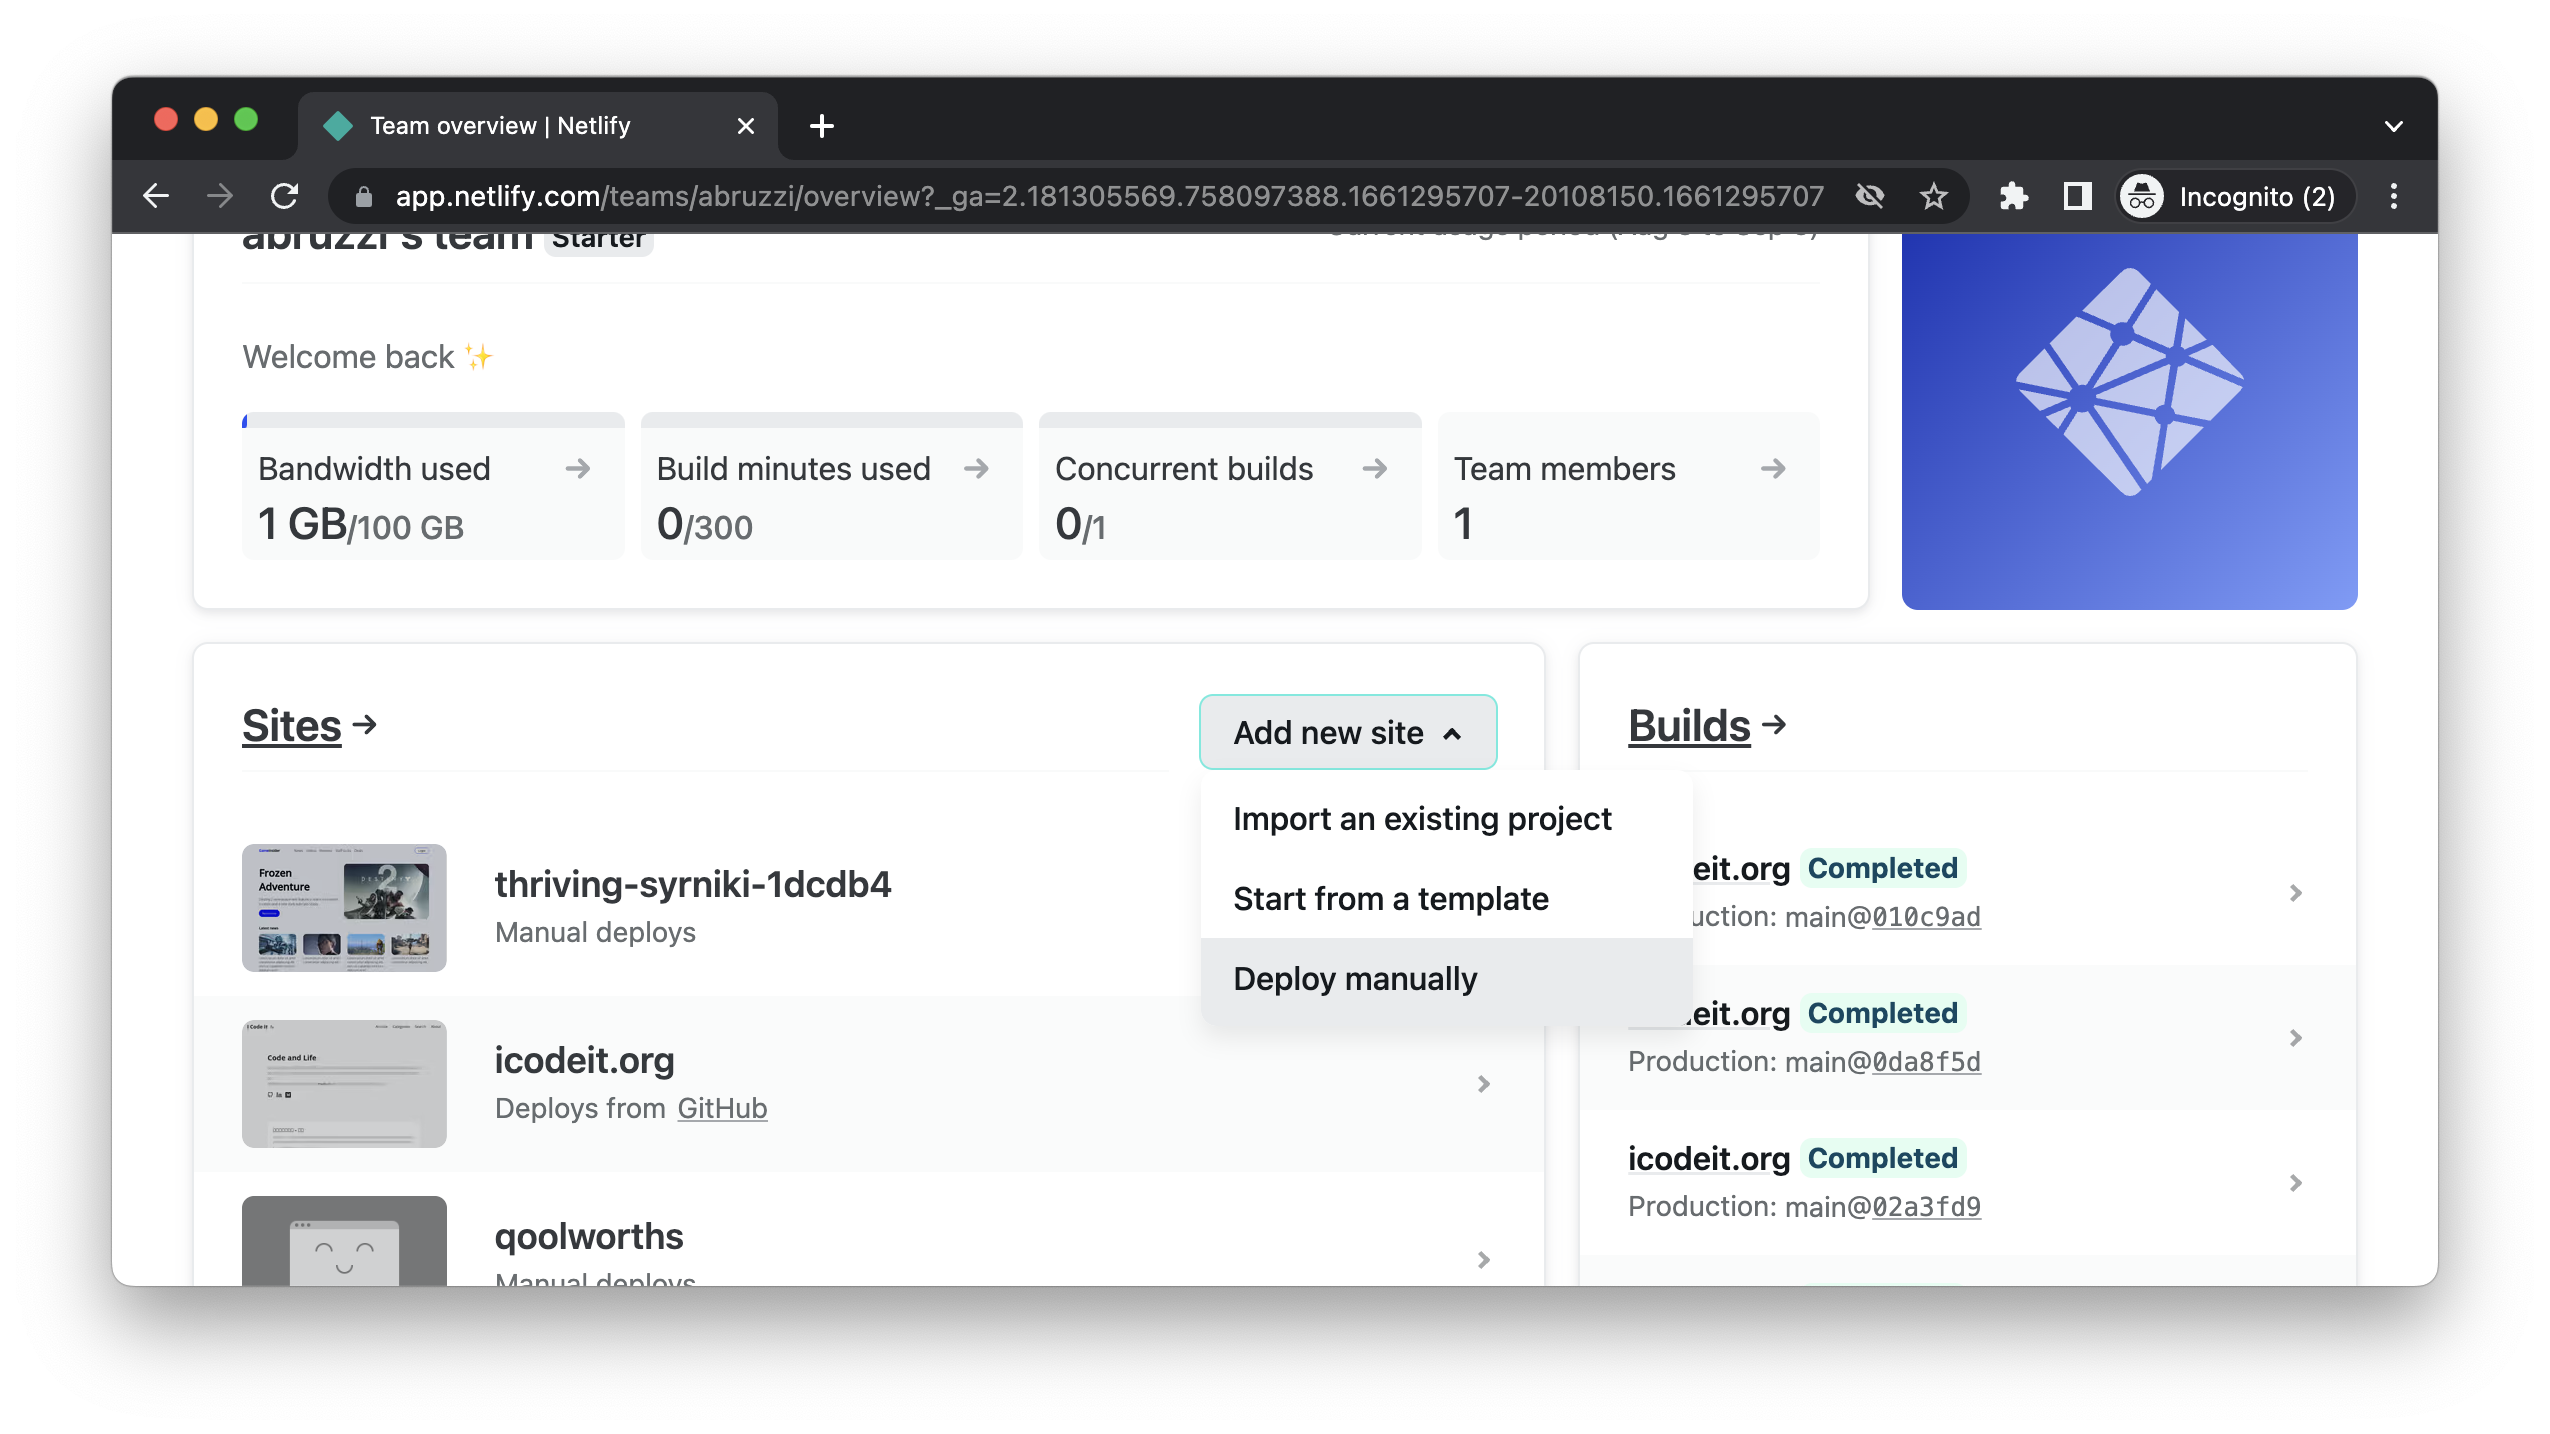
If you don't want to install some extra software on your machine, then Netlify will be easier. After registering an account, you only need to drag and drop the local directory week-1 to its website. After a few minutes Netlify will complete the deployment and provide you with a URL that you can share with others, pretty straightforward.

Additionally, we'll cover a little bit about using Surge to publish your work here. First, you need to install Node.js. After the installation, you will have the npm package manager in your command line.
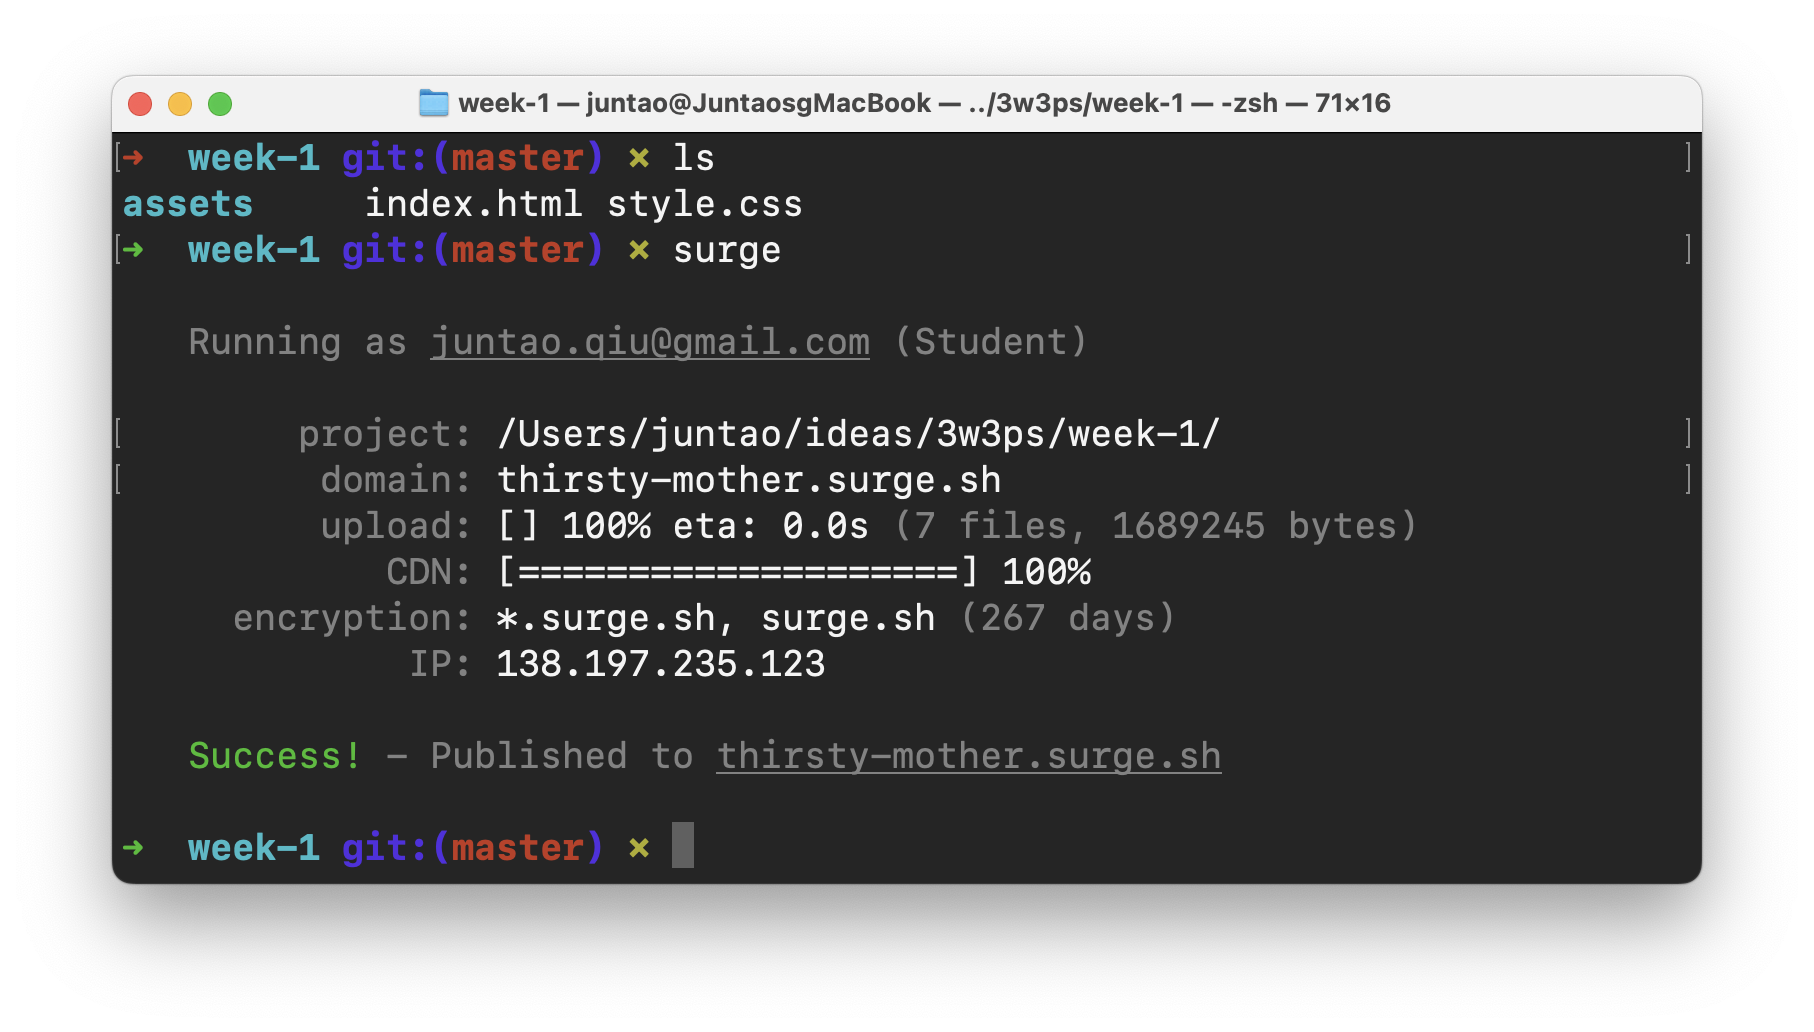
Now, let's install the command line tool of surge. You need to execute it in the Terminal program:
npm install --global surgeThen go to your working directory, which is week-1:
cd ~/tutorial/3w3ps/week-1
surge
At this time, surge will prompt you to log in or create an account, and then it will randomly assign a domain name to you and complete the deployment.

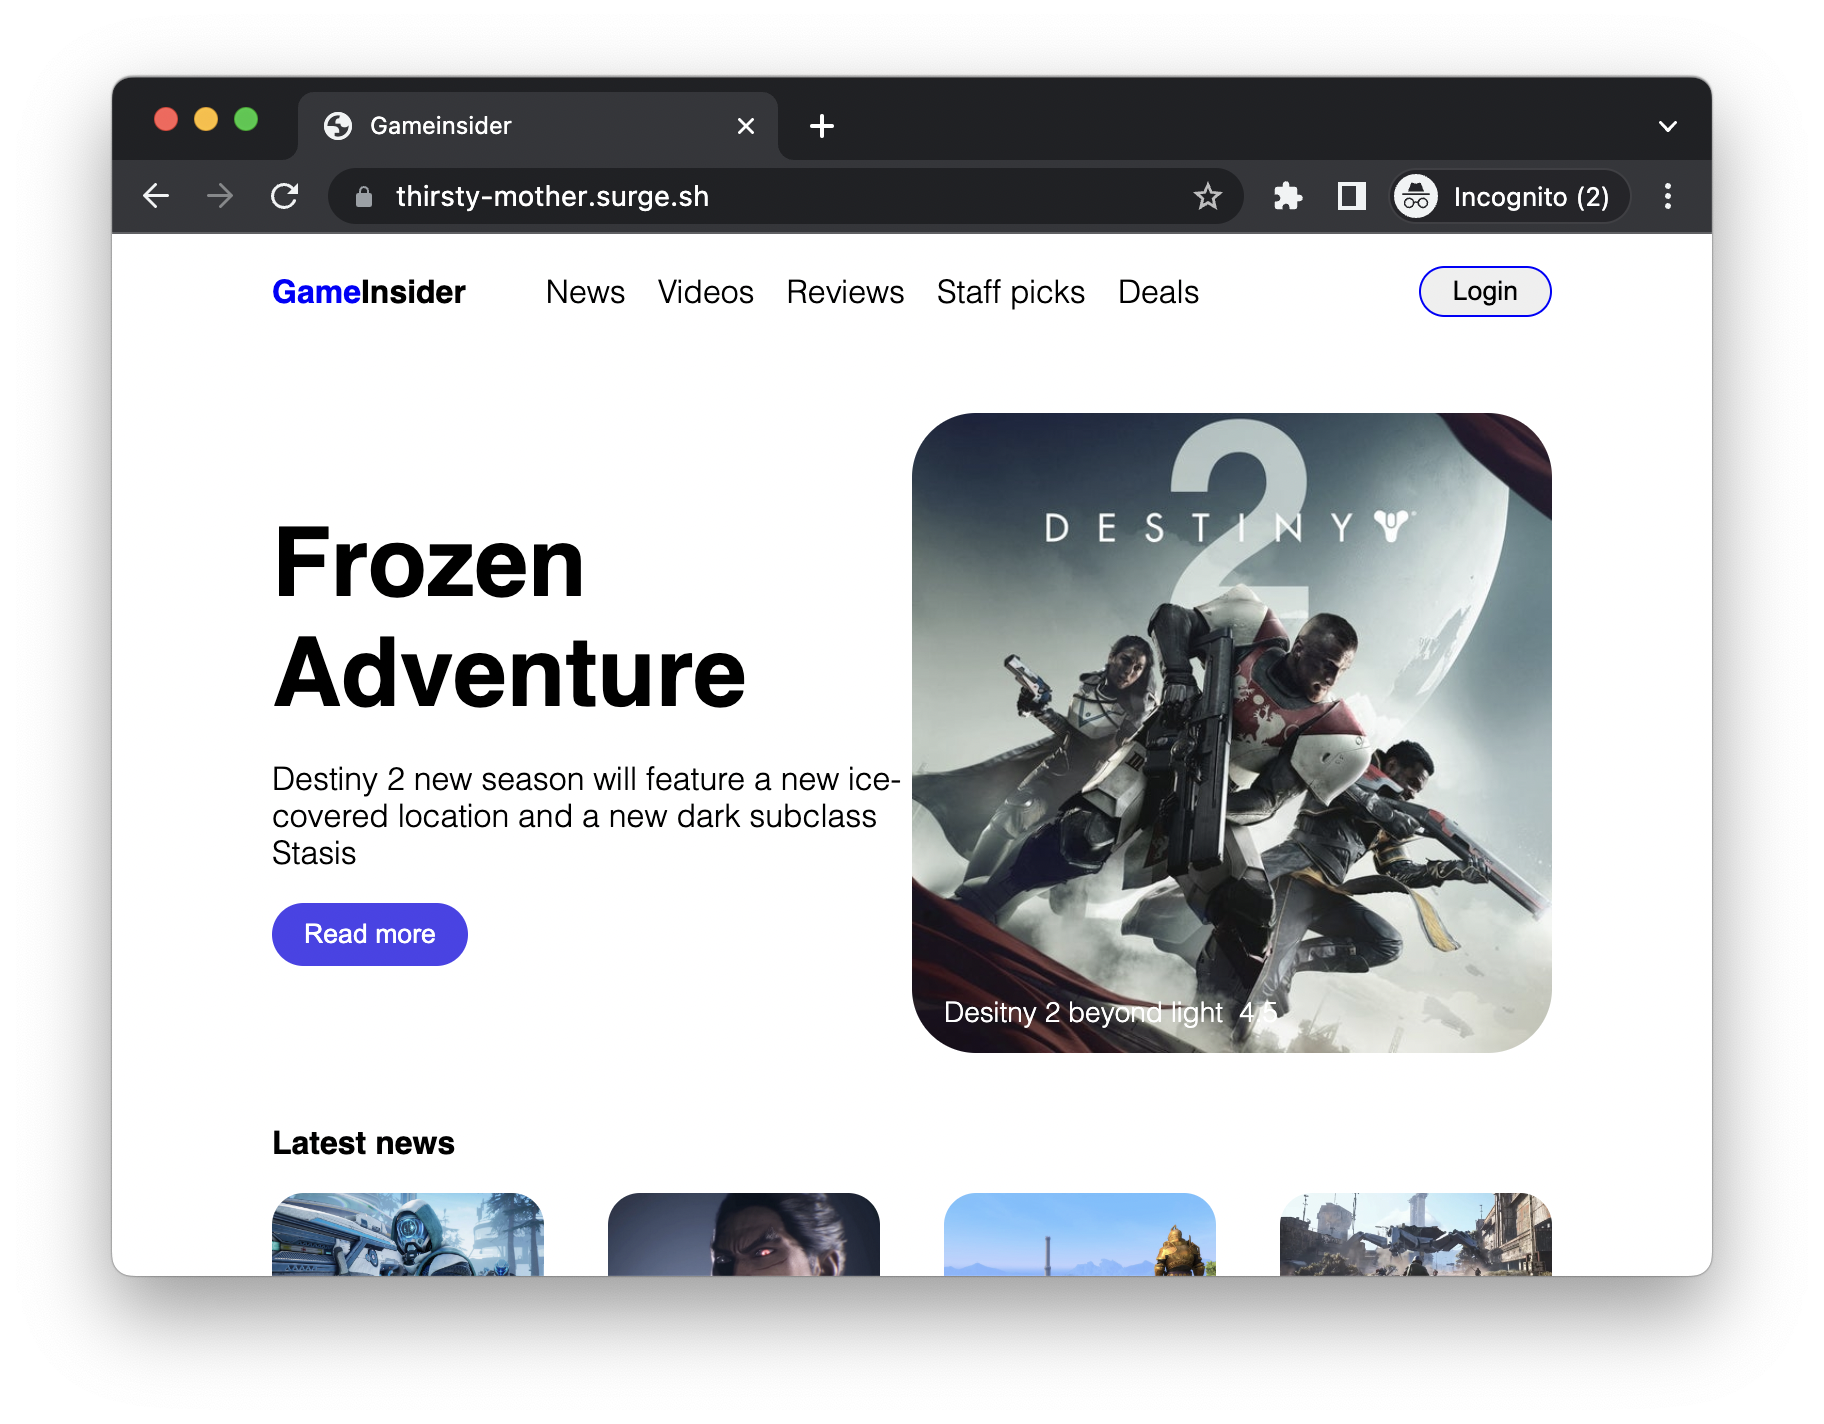
You can now access the URL in public network or share it to others.

Summary
This week, we learned how to deconstruct a mockup and write corresponding HTML documents, learned how to use the flex layout to implement the navigation bar, and how to control the even distribution of elements, and learned how to use absolute positioning to elements that out of the document flow, as well as some other common typography techniques (like using padding and margin), etc.
I'm sure you can't wait to do something with your new achieved skills, so here are some interesting challenges.
Challenges
Challenge 1
Find a website you visit frequently, and use Chrome's DevTool to inspect the site's navigation bar. See what knowledge we discussed above and what knowledge is new to you. In addition, you can try to reimplement the navigation bar by the method we introduce here.
Steps:
- Write semantic HTML tags
- Layout with flex layout
- Adjust typography with margin and padding
Challenge 2
Inspect your favourite website's Landing Page, analyse its font and layout, then try to replicate it locally. You might want to pay attention to these:
Steps:
- Write semantic HTML tags
- Use of fonts
- The combination of background colour and foreground colour
- Use flex layout
- Adjust typography with margin and padding
In the next week, we will learn more about flex layout, in the vertical direction, using grids for more complex layouts, and layouting elements of different heights. We'll also cover how to use external fonts and icons to make pages more interesting.
Fantastic work – you've achieved it!
You have made remarkable progress, and I hope you feel proud of the skills you have acquired. Your dedication and hard work have paid off, and you are now equipped with valuable knowledge for your web development journey.
As you continue to grow and apply what you have learned, I would like to extend an invitation to deepen your understanding even further. I have written a book that complements the topics covered in this course, offering more insights and advanced techniques. This book is designed to be a valuable resource for you, providing detailed explanations and practical examples that build upon the foundations we have established here.
You can find the book in the section following this course. Whether you are looking to refine your skills or tackle more complex projects, this book can be your guide to the next level of your web development journey.
Thank you for choosing this course, and I look forward to assisting you in your continued learning!
3 Web Designs in 3 Weeks: Bringing Your Web Design To Life
I wrote the book eight years ago and found some of the content were outdated, and recently I decided to rewrite it with the modern (also the most compatible) techniques. Just like the first edition, it has all the interactive ways of teaching and the real-world-based design reproducing, but with the latest front-end knowledge.
